In JavaScript the if statement is used to execute different statements based on conditions.
It is possible, but it is not mandatory to insert the else, as I will explain later.
So here is the syntax of the conditional statement:
if(condition) {
   //block 1 of instructions executed if the condition is true
}
If we use the else the syntax becomes this:
if(condition) {
   //block 1 of instructions executed if the condition is true
} else {
   //block 2 of instructions executed if the condition is false
}
Where condition takes on a boolean value, i.e. true or false.
Here are some examples of possible conditions that can be specified:
condition = a> 0
or
condition = a> b
and so on.
Therefore, if the condition is true, one or more instructions indicated in curly brackets are executed, otherwise the instructions indicated in the else are executed.
So if the number is greater than 100, ‘the number is greater than 100’ will be printed on the html page, otherwise ‘the number is not greater than 100’ will be printed.
JavaScript if statement – example 1
In this example we check if a number is positive and we write it in the html page with the writeln method.
if(number > 0) {
   document.writeln('The number is positive');
}
JavaScript if statement – example 2
So let’s take an example of an if else statement in JavaScript, where we check if a number is greater than 100 or not.
if(number > 100) {
   document.writeln('number is greater than 100');
} else {
   document.writeln('number is not greater than 100');
}
JavaScript if statement – else if cascaded
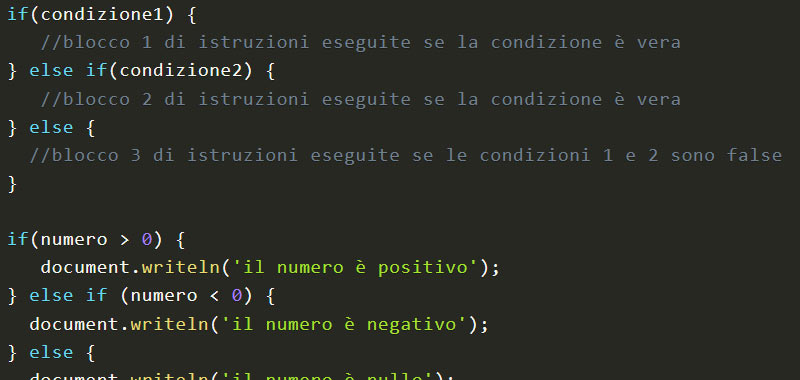
You can also specify multiple conditions using else if, following this syntax:
if(condition) {
   //block 1 of instructions executed if the condition is true
} else if(condition){
   //block 2 of instructions executed if the condition is false
} else {
   //block 3 of instructions executed if the condition 1 e 2 are false
}
So you can have the following cases:
Condition1 is true, then the block1 of statements specified in curly brackets are executed. The second condition and the else are therefore discarded.
Condition1 is false, then we do not execute the block1 of statements specified in curly brackets and we go on to evaluate condition2. If condition2 is true, block2 of instructions indicated in curly brackets is executed,
Condition1 is false, then we do not execute the block1 of statements specified in curly brackets and we go on to evaluate condition2. If condition2 is false, go to else and then execute block3 of instructions.
You can also insert other else if in cascade, as many as needed.
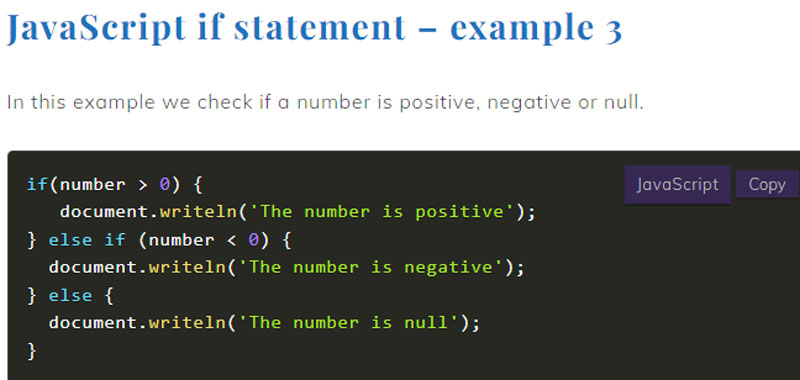
JavaScript if statement – example 3
In this example we check if a number is positive, negative or null.
if(number > 0) {
   document.writeln('The number is positive');
} else if (number < 0) {
  document.writeln('The number is negative');
} else {
  document.writeln('The number is null');
}
Then we use the first condition to evaluate if the number is positive. Then we insert a second condition to check if a number is negative. Therefore it is not necessary to insert a third condition because if the number is not positive and not even negative then it will be null. So let's just insert an else without an if.
Conclusion
In this lesson we talked about the if else statement in JavaScript, in the next lessons we will give other examples.
In this lesson we study the instruction if else in JavaScript and we will do some pratical examples of use.
Recall that conditional statements allow you to check a condition, if this condition is true you execute some statements, otherwise you can execute others.
if else JavaScript – first example
In this first example we will compare if two values are equal.
Initialize two variables a and b with integer values and check if they contain the same value.
So let’s initialize the two variables, for example: a = 5 and b = 6 and then use the conditional if statement.
The syntax of the if statement requires that the test to be verified is specified in round brackets. The test returns a Boolean value, that is, true or false.
In this example, given that a = 5 and b = 6, the test (a == b) will be false and therefore the instructions contained in braces will never be executed.
var a = 5, b = 6;

if(a == b){
 document.write('The values of ' + a + ' and ' + b + ' are equals');
}
if else JavaScript – second example
The if statement can therefore be used alone or together with the else statement. In this way, if the condition specified in the if is found to be false, the instructions specified in the else can be carried out.
Given two integers a and b check whether they contain the same value or not.
So let’s take another example, which represents a variant of the previous one:
var a = 5, b = 6;

if(a == b){
   document.write('The values of ' + a + ' and ' + b + ' are equals');
}
else {
    document.write('The values of ' + a + ' and ' + b + ' are not equals');
}
In this example, if a and b are equal, the instruction in curly brackets of the if is executed, otherwise the instruction contained in the else is executed.
if else JavaScript – third example
Furthermore, the if else statement can be extended with the else if clause.
Let’s see a simple example of use:
var a = 5, b = 6;

if(a == b){
  document.write('The values of ' + a + ' and ' + b + ' are equals');
}
else if (a > b){
  document.write('The value ' + a + ' is ' +  ' major than ' + b);
}
else {
  document.write('The value  ' + b + ' is ' +  ' major than ' + a);
 }
In this example, therefore:
if a and b are equal, the instructions contained in the braces of the first if will be executed.
Otherwise (that is, if the first test is false) it is evaluated if a is greater than b. If the condition returns a Boolean value of true, it will do what is specified in the curly brackets.
Otherwise, if the second condition is also false, what specified in the last else will be executed. Clearly this is done without inserting a condition, as it is taken for granted at this point that a is less than b.
Conclusion
These are just simple examples of if else statements in JavaScript, in the next lesson we will cover some more.
In this article we will talk about variables in JavaScript and we will also introduce the concept of constant. These are some basic concepts that are important to learn right away.
Variables and constants JavaScript – first example
Let’s take an example by creating a simple script where we insert:
the pigreco constant where we store the constant value 3.14;
a variable radius where we store the value of the radius;
and the variable area where we store the result of the operation.
After making the calculations, the result will be displayed on the web page.
We have chosen to use the variable data for the radius as it is generally a value that is entered in input and from time to time it can vary, but in this example it could also be a constant. Recall that a constant value theoretically cannot be changed and in fact it is so in some programming languages. In fact, in JavaScript, the use of the const keyword has a broader sense of the term, as we will see in more detail further on in the tutorial.
For convenience, we use the JavaScript write method to write in the html page, as in the example below:
//input
const pigreco = 3.14;
var r = 4, area;
//operations
area = pigreco * r * r;
//output
document.write('The area of the circle of radius ' + r + ' is: ' + area);
As you can see in this example I have declared in the same line the variable r and area, this only to compact the code, it could in fact also be written in this way:
var r = 4;
var area;
Variables and constants JavaScript – second example
In this second example we have the user enter the radius value and, after clicking on the ok button, the program will calculate the area of the circle.
However, this method assumes knowledge of the getElementById method, explained in this lesson: getElementById method.
Then we create an input for the text and a button that calls the function calculate when clicked.
The compute() function initially takes care of declaring the lazy constant. Then it detects the radius input data through the getElementById method which returns the element of the HTML page, having the id equal to what is specified in brackets.
Once this value is obtained, the function calculates the value of the area. Then, again using the same method, getElementById, we display the value obtained in paragraph p.
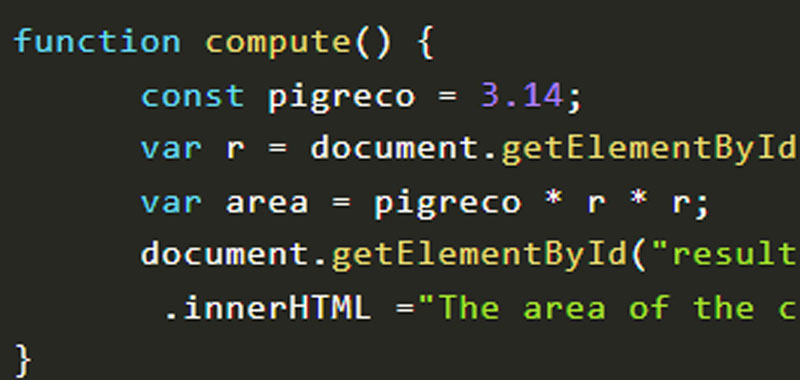
So here is the complete code written in a separate JavaScript file:
function compute() {
const pigreco = 3.14;
var r = document.getElementById("r").value;
var area = pigreco * r * r;
document.getElementById("result")
.innerHTML ="The area of the circle of radius " + r +' is:' + area;
}
In the html page, therefore, we insert this code, in addition to the link to the javascript file:
JavaScript is a language used in client-side web programming. This means that the scripts are interpreted by the web browser on each user’s computer.
Recall that server-side web languages instead contain code that runs on the server (where the website is hosted). That is, after processing the code, it is sent to the browser of the user who requested it.
In the last lesson we talked about how to integrate JavaScript code into our web pages and therefore which embedding method should be used rather than another. In this lesson we will explore some concepts, including that of function.
Learn JavaScript – What is a function?
A function is a block of code where to insert instructions and is executed when it is invoked (called).
Typically, a function is called on a web page via a button or when a certain event occurs.
A function in JavaScript has a name and can also have parameters enclosed in two round brackets.
The instructions to be executed are instead indicated in curly brackets.
So let’s take some examples to better understand how it works:
function hour() {
    var day = new Date();
    var hour = day.toLocaleTimeString();
    alert(hour);
}
Learn JavaScript – Code development
First of all, we note that we are using new Date() to create an object of type Date.
The Date object is used to work with dates and times. The toLocaleTimeString method returns the time.
Within the function hour(), which has no parameters enclosed in round brackets, we store the time in a variable and call the alert method. Recall that the alert() method is used to create a window that opens in the browser. In our specific case it will show the time.
Then we insert a call to the function created in JavaScript at the desired point on our website.
For example, you can insert a button that calls the function now when clicked.
<input onclick="hour()" value="Shows the time" type="button">
You can see the result by clicking on the button below: ‘show time’. It will show you the current time.
Learn JavaScript – Second example
Let’s do the same example but displaying the message in the html page, rather than in a dialog box. We use the simple document.write method for this purpose, as in the example below:
function hour() {
var hours = new Date();
var hour = hours.toLocaleTimeString();
document.write("Another way to view a message!");
document.write("
Hours: " + hour + "
")
}
Conclusion
The purpose of this guide is to learn JavaScript with lots of fun exercises. In the next lessons we will see many other examples.
Try entering this code to view the time on your web page to see the result.
This lesson is an introduction to JavaScript language with propose numerous scripts for each topic covered. Learning the basics of JavaScript with this tutorial will therefore be very simple, creative and fun!
JavaScript is an interpreted language. This means that it is not compiled, but each command is executed directly in the browser of the client (that is, of whoever is visiting the web page).
JavaScript is, in fact, a language used in client-side web programming, while in server-side web programming, languages such as PHP, Python, Ruby or Perl are used.
Introduction to JavaScript
JavaScript is a fast and performing language and integrates perfectly with HTML5. It is object-oriented and event-oriented, albeit in a different way than languages such as Java or C ++.
In fact, JavaScript is said to be prototype oriented, because each object inherits functionality from another object called a prototype.
The success of JavaScript is also due to the presence of numerous libraries and frameworks such as jQuery, Vue, React, AngularJS etc .., which allow you to develop powerful web applications.
In the following lessons of the JavaScript tutorial, present on the Creative Coding platform, we will study applications that use some JavaScript libraries and frameworks.
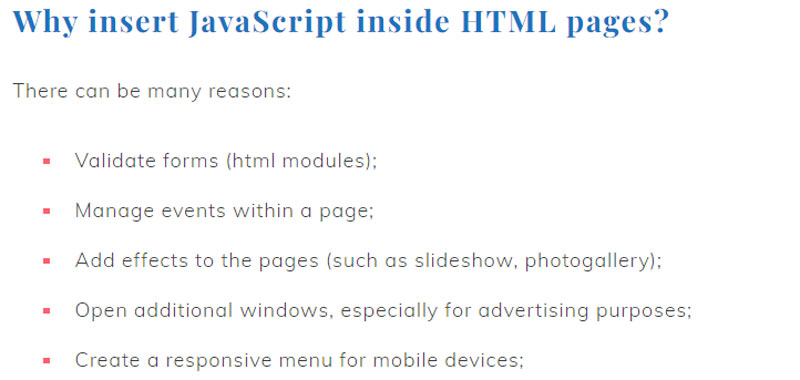
Add effects to the pages (such as slideshow, photogallery);
Open additional windows, especially for advertising purposes;
Create a responsive menu for mobile devices;
For this and many other reasons it is necessary to learn JavaScript!
How is JavaScript inserted into an HTML page?
We continue the introduction to the JavaScript language with the ways of inserting on the page.
There are three input modes:
directly in the html page as code blocks enclosed in the script tag;
or in an external JavaScript sheet which is then linked to the html page (the recommended mode for most of the time);
finally also in online mode, that is, within the html tag (no longer in use).
First mode – insertion in the same html page
The JavaScript code is included in the web page with the tag often after the opening of and before it closes , but it can also be inserted elsewhere on the page.
We also use the type attribute which indicates the type of code you are using, in our case text / javascript, as shown in the example below:
<script type="text/javascript">...</script>
Between the opening and closing tags we insert the functions that must be performed and which will then be called up in the html page.
<script type="text/javascript">
   function nomeFunzione(parametri){
     ...
   }
</script>
Second way – insert in an external file
In this case you insert the link to the external file, most of the time, before closing the body, in order to guarantee the loading of the DOM.
We always use the script tag with the type attribute and the src attribute where we indicate the path to the file.
Let’s continue our JavaScript tutorial by making another simple usage example:
!DOCTYPE html>
<html lang="it">
<head>
<title>Coding Creativo</title>
<script type="text/javascript">
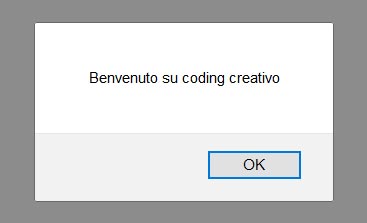
window.alert("Benvenuto su coding creativo");
</script>
</head>
<body>
<header>
<h1>Coding Creativo</h1>
<h2>Coding while having fun</h2>
</header>
<article>
<h2>
<a name="scratch">Scratch</a>
</h2>
<p>
Scratch is a free programming environment and is ideal for learning coding.<br>The graphical interface is very intuitive and simple to use. <br>On the website <a href="https://www.codingcreativo.it">Coding Creativo</a> you will find many examples and exercises on scratch ...
</p>
</article>
<footer>
<p>Made by Coding creativo</p>
</footer>
</body>
</html>
We save our page and we will see the message as shown in the figure below.
As soon as we click OK, our website will open. So in this way we have inserted a simple window that is displayed before the site is opened (this practice, however, is not widely used, but only serves as a first simple example!).
Conclusion
We did an introduction to JavaScript, in the next lessons we will cover topics like alert, prompt, ecc.
The JavaScript parseInt function is generally used to convert its first argument to an integer.
The syntax is therefore the following: parseInt(string, root).
Where string represents the string to convert, while the root parameter is optional.
The root parameter is used to specify which numbering system to use for the conversion and can have a value from 2 to 36. So it can be for example 16 (hexadecimal), 8 (octal), 2 (binary), etc. If this parameter is omitted then, if the string starts with ‘0x’ the root is hexadecimal, if the string starts with ‘0’ then the root is octal, instead if the string starts with another character it tries to convert the string to decimal .
When the conversion cannot take place, the function indicates that it is not a number by returning isNaN.
JavaScript parseInt examples
Examples with the first parameter, the string.
Let’s take examples of using the parseInt () function in JavaScript.
parseInt("coding creativo");
it returns isNaN as it fails to do the conversion. But if for example I write:
parseInt("13coding creativo");
It returns me 13 as it can read the first few characters.
If instead I indicate:
parseInt("coding creativo13");
in this case it always returns isNaN because it doesn’t see the number written at the end of the string.
If as the first parameter I pass a number with a comma, or a time, a date or a number with blank spaces, as in the examples below:
Examples of using parseInt JavaScript with the first and second parameters, that is, the string and the root
Let’s now make some examples where we also pass the root.
For example, we insert the binary number 1101 as a string and then insert the corresponding base. The function will return me the integer 13.
parseInt("1101", 2);
Similarly if we use the other bases, such as 16 and 8, the function will return me the corresponding decimal number:
parseInt ("13", 16);
parseInt ("13", 8);
In the first example we get 19, while in the second we get 11.
Examples of using parseInt JavaScript with the prompt or input box
One of the most common uses, also presented in many examples in this tutorial, is through a command prompt or via the input box. Here is an example of use with the prompt:
var number = parseInt (prompt (Insert a number));
Conclusion
In this lesson we studied the parseInt function of JavaScript and we studied some examples of use, in the next lessons we will see some practical applications.


Commenti recenti