The JavaScript split method iallows you to split a string based on a separator, save the sub-strings obtained in an array and then return the array thus formed.
The syntax of this method is as follows: string.split(separator, limit).
Where string therefore represents the string to be divided. The separator parameter is mandatory and indicates which element to use to perform the division (for example, a blank space, a comma, a dash). The limit parameter is optional and represents the number of subdivisions to be made. Therefore items that go beyond this limit will not be included in the split.
This method is supported on all browsers.
JavaScript split – first example
Let’s now make some simple examples of use.
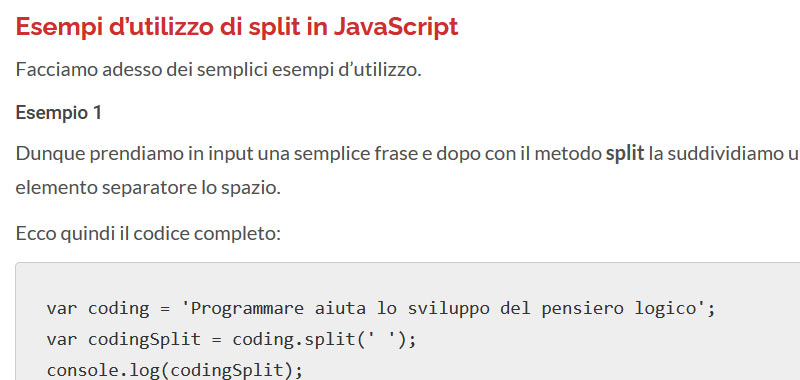
So we take a simple sentence as input and then with the split method we divide it using space as a separator element.
So here’s the complete code using JavaScript’s split method:
var coding = 'Programming helps the development of logical thinking';
var codingSplit = coding.split(' ');
console.log(codingSplit);
In the browser console we will display an array of 7 elements, as shown below:
Let’s change the sentence, adding a second thought after the comma, as in the example below:
var coding = 'Programming helps the development of logical thinking, let's have fun learning JavaScript';

var codingSplit = coding.split(',');
console.log(codingSplit);
As a result we will see in the browser console an array of 2 elements:
Array [“Programming helps the development of logical thinking”, “let’s have fun learning JavaScript”]
Conclusion
In this lesson we studied the JavaScript split method we use to split a string and save the various parts in an array.
JavaScript trim method is used to remove whitespace from the beginning and end of a string. Then the trim() method cleans the string of any blanks entered incorrectly.
These characters may also have been entered for example through a prompt or an input box. Therefore it may be necessary to eliminate them.
The syntax of this method is quite simple, in fact you simply call the method on the string you want to clean up: string.trim().
Where string therefore represents the string to be manipulated.
As you can see from its syntax, the method takes no parameters.
But be careful, the trim method is not supported on some browsers and in this case it is necessary to use a function created ad hoc to be able to remove the excess spaces.
JavaScript Trim – example
So let’s take a simple example of using this method.
We take as input an example string ‘Creative Coding’ with blank spaces inserted at the beginning and end and for convenience we display it in the browser console.
var sentence = '   Coding Creativo  ';
console.log(sentence);
We will notice that the example string is displayed with all its spaces.
Therefore, if we apply the JavaScript trim method to the string, we realize that both the leading and trailing spaces have been eliminated.
So here’s the example code that makes use of the trim() method:
In this lesson we have simply seen what the JavaScript trim method, used on text strings, is useful for. In the next lessons we will see other ways to remove empty spaces from the beginning and end of a string.
JavaScript substring method applies to strings to extrapolate a portion of them.
substring follows the syntax:
string.substring(start, end);
Where start indicates from which character it must begin, while end indicates the end of the character to be considered.
The start parameter is mandatory and if it is not specified, the value 0 is considered. Instead, the end parameter is optional and if not specified, it considers the string up to the last character.
JavaScript substring – first example
Let’s see immediately a first example of using this method to understand its correct functioning.
Transform a lowercase name into an uppercase name using the substring method and also the toUpperCase method.
First of all you need to insert a lowercase name in a variable, for example I entered coding.
Now you need to change the first letter to uppercase.
The first letter is extracted by simply pointing to the first string element [0].
We then extract the substring starting from position 1, as we have to skip position 0 which we have just turned into uppercase. The method we use to do this is JavaScript substring.
Then we need to concatenate the two strings and we can do it simply with the + operator.
var word= 'coding';
var firstLetter = string[0].toUpperCase();
var letters = string.substring(1);
var wordCapital = firstLetter + letters;
document.write('The modified string is: ' + wordCapital);
JavaScript substring – second example
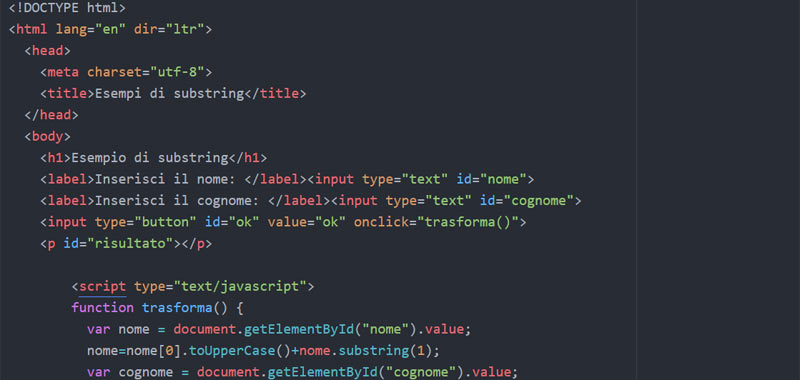
In this second example we extract the first letter of the name, the first letter of the surname entered in input and transform them, so as to always have the first letter in uppercase and all the rest in lowercase.
When the user has entered the data and clicked ok, he will call the transform function which will transform the data as indicated.
To make this example we need the methods toUpperCase, toLowerCase and substring.
So here’s the code that uses JavaScript’s substring method:
var name = prompt('Insert the name: ');

name = name[0].toUpperCase() + name.substring(1).toLowerCase();

var lastname= prompt('Insert lastname: ');

lastname = lastname[0].toUpperCase() + lastname.substring(1).toLowerCase();

document.getElementById("result").innerHTML = "Name and lLastname: "
    + name + ' ' + lastname;
JavaScript substring – third example
In this example we will see how to extract the last two characters of a string using the substring method of JavaScript and the length property on strings, which we remember is used to determine the length of a string.
Clearly we will assume that the user enters a word longer than 2 letters. If the user enters a string of only 1 character, the latter will still be returned.
Here is the complete code:
var name = prompt('Insert the name: ');

var len = name.length;

var lastTwo = name.substring(len-2);

document.getElementById("result").innerHTML = lastTwo ;
Clearly, a check could be made to allow the insertion of at least two characters of text.
Conclusion
In this lesson, we covered the substring method of JavaScript and also used two other methods to transform text to upper and lower case.
The toLowerCase in JavaScript is a method useful for converting a string to lowercase and has the following syntax:
string.toLowerCase();
Where string represents the string to convert to lowercase.
Also in this case, as with the toUpperCase method, seen in the previous lesson, the original string is not changed. So to see the result we have to use a variable where to save the converted string, it can also be the variable itself.
toLowerCase JavaScript – first example
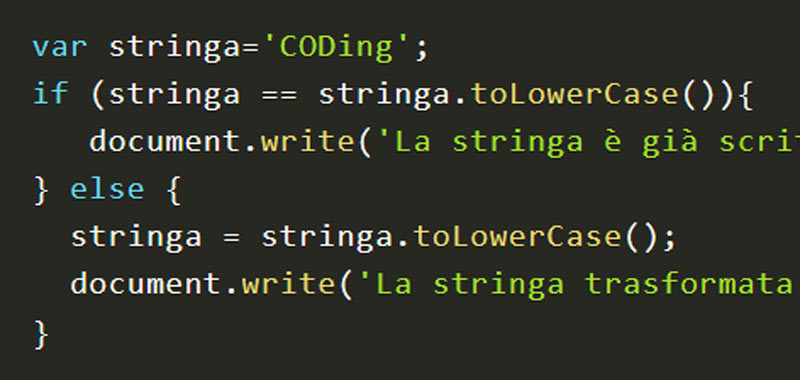
We transform an input string with lowercase characters.
Here is the proposed example that uses the JavaScript toLowerCase method:
var string = 'CODing';
if (string == string.toLowerCase()){
   document.write('The string is already lowercase' + coding);
} else {
  string = string.toLowerCase();
  document.write('The transformed string is: ' + stringa);
}
With the conditional statement we evaluate if the starting string is already lowercase and in this case we print it without converting it. Otherwise we convert the string and print it.
Of course we could directly convert it, regardless of whether it was lowercase.
toLowerCase JavaScript – second example
In this second example we use the getElementById method explained in this tutorial: getElementById method.
We take a value from a prompt and turn it to lowercase. After we display it in an html section with id result.
Here is the code necessary for the realization of the proposed example that uses the JavaScript toLowerCase method.
var name = prompt('Insert the name');
name = name.toLowerCase();
document.getElementById("result")
  .innerHTML ="The name is: " + name;
So here is the example html code:
<h1>Example with the toLowerCase and getElementById method</h1>
<label>Insert the name: </label>
<p id="result"></p>
In this example we convert the name directly to uppercase without checking that it already is. Eventually, as in the previous exercise, we could decide to do it always using conditional statements.
Conclusion
In this lesson we studied the JavaScript toLowerCase method for transforming input strings to lowercase. In the next few lessons we will see many more examples that use other methods on strings in JavaScript.
JavaScript toUpperCase is a method when it is useful to want to turn all text into uppercase.
This method can be applied to a string and has the following syntax:
string.toUpperCase();
In this short tutorial we will give examples of using this method in order to learn how to use it correctly.
toUppercase – first example
Check if a string is capitalized or not.
First we initialize a string variable. For example, I assigned the creative coding value.
Then we verify the condition: does the string match the same string written in uppercase? If this condition is true then we write the sentence ‘the string is already written in uppercase’, otherwise we transform it into uppercase and display the transformed string.
Here is an example of using the if else conditional statement and the JavaScript toUpperCase method.
 var string = 'Coding Creativo';

 if (string == string.toUpperCase()){
    document.write('The string is already capitalized ' + coding);
 } else {
   string = string.toUpperCase();
   document.write('The transformed string is: ' + stringa);
}
toUppercase – second example with getElementById
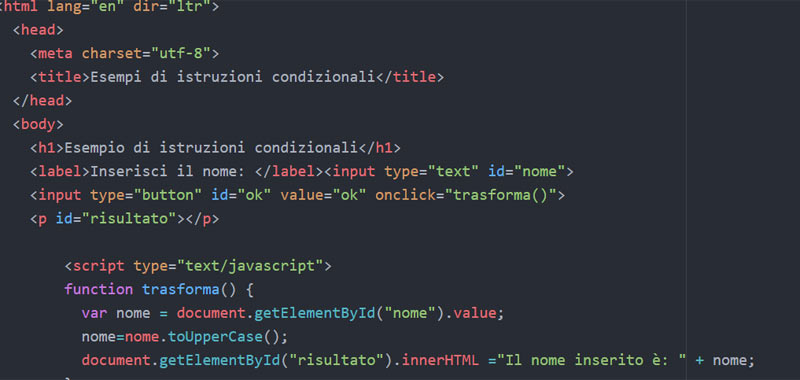
Enter a value through an input field and, after clicking on ok, we transform this value into uppercase.
In this example, in addition to JavaScript’s toUpperCase method, we will also use the getElementById method that we explained in this tutorial: getElementById method.
Therefore, remember that this method returns the element that has the id equal to the one specified in round brackets.
By clicking on the ok button, we call the function transform () in JavaScript.
So here is the html code:
<h1>Example with the toUpperCase and getElementById method</h1>
<label>Insert the name: </label>
<input type="text" id="name">
<input type="button" id="ok" value="ok" onclick="transform()">
<p id="result"></p>
And JavaScript code:
function transform() {
   var name = document.getElementById("name").value;
   name = name.toUpperCase();
   document.getElementById("result")
    .innerHTML = "The name is: " + nome;
}
Conclusion
In this lesson, we used JavaScript’s simple method, toUpperCase, to capitalize text. Later we will deal with many other examples and in particular we will see how to transform for example only the first letter in uppercase and everything else in lowercase.
In JavaScript the console.log () method displays a message in the browser console. This message can be a simple text string or one or more variables or even a JavaScript data structure.
In fact, this method is often used by web developers to test portions of code.
It will soon become our best friend in JavaScript!
JavaScript console log – first example
Let’s take examples of using the following method.
We create a program that tests if a number is positive, displaying the message in the browser console.
So, we initialize the variable a to a positive value, for example 13 and after, with a simple conditional statement we test if this value is positive or not.
We display the relevant message using the JavaScript console.log method.
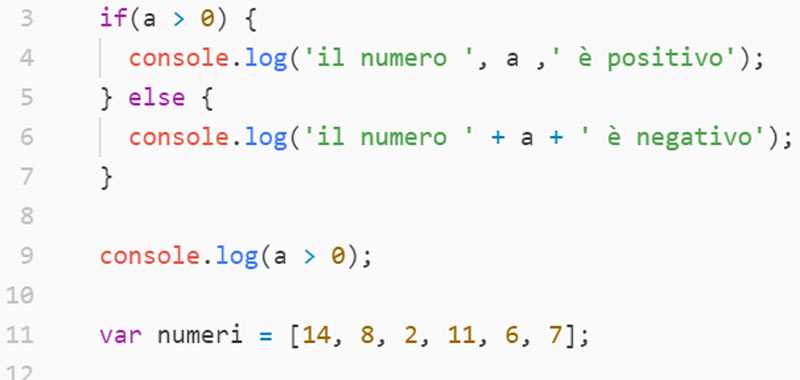
var a = 13;

if(a > 0) {
  console.log('The number is positive');
} else {
  console.log('The number isn't positive');
}
In the browser console I can also print the variable a, concatenating it with the text string.
I can use the + symbol, as in the example below:
console.log('The number ' + a + ' is positive');
In JavaScript console.log we can use also the comma:
console.log('The number ', a ,' is positive');
In the console I can also print a Boolean value, such as the test I entered in the if.
In our case:
console.log(a > 0);
In the console we will have the boolean value true.
JavaScript console log – second example
We create an array of numbers and display the result in the browser console.
To tackle this example, we must therefore know the arrays presented in this lesson: introduction to arrays in JavaScript.
var numbers = [14, 8, 2, 11, 6, 7];

console.log(numbers);
In the console we will see our array as shown below:
Similarly, for example, I might want to print an object:
var car = {
  modell: 'fiat',
  color: 'white'
};

console.log(car);
In the console we will see our object as shown in the figure below:
Conclusion
As we have seen in JavaScript the console.log method allows you to print messages, variables and data structures. It is therefore useful for developers to do quick tests on the written code. In the next few lessons, I will explain other basic concepts of the JavaScript language.


Commenti recenti