In fact, by subtracting the value 1 from the length of the array, I always get the last element.
JavaScript array length – example 2
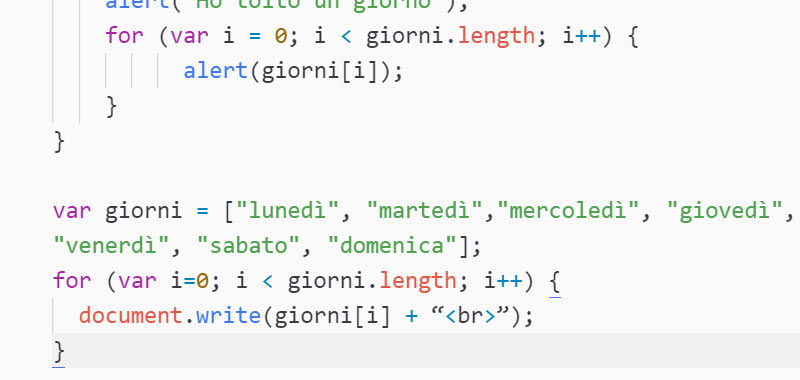
We create an array of elements and then display each element using the for loop.
This second example is similar to the previous one but uses the length property on the array as a condition of the for loop.
So I create the array in this way:
var schoolObjects = ['eraser', 'notebook', 'pencil'];
Then I scroll through the array through a simple for loop, stopping when the variable counter i is less than days.length.
In fact, as observed in the previous example, the last element has the position days.length – 1, which in our specific case has the value 2.
Here is the useful for loop to scroll through the array and print each element on the web page.
for (var i=0; i < schoolObjects.length; i++) {
  document.write(schoolObjects[i] + “
”);
}
Conclusion
In this lesson we have analyzed some examples of using the JavaScript array length property, in the next lessons we will deal with other examples with the use of this property.
We study some JavaScript methods to add an attribute to elements.
In particular, in this lesson we will use createAttribute() and setAttributeNode().
In the previous article we saw how to create new elements such as paragraphs, levels, titles, etc …
JavaScript add attribute – createAttribute
With the createAttribute() method you can add one or more attributes to the elements created.
The syntax is therefore this: element.createAttribute(attribute_name);
where attribute_name is any attribute of the created tag.
JavaScript add attribute – example 1
After creating the attribute with createAttribute (), we will use the setAttributeNode () method, to associate the attribute with an element.
So let’s take an example to better understand how it works.
Here I will insert the link:
Here I insert the link:
Then try to click on the button above, the link to the Coding Creativo website will appear. If you click on the link, a new page will open, which you can close anyway to return to the tutorial.
Development example on JavaScript add attribute
So first I create the layer where to display the link I want to create. Immediately below I create the button that must be clicked to bring up the new link.
<div id="link">Here I insert the link: </div>
<input type="submit" onclick="insert()" value="insert">
I will now proceed to create the JavaScript code. I then create an insert() function that will be called when the onclick event on the button is activated.
Then, inside the function, I create the new element a with the createElement() method, as we did in the previous tutorial.
After between the opening and closing tags I write the Creative Coding text using the innerHTML property.
I create a variable to which I assign the attribute created with the createAttribute () method, in this case href. Then I give him the value of the website: https://www.codingcreativo.it.
Finally, with setAttributeNode() I associate the newly created attribute with the a tag.
Then I create the blank = _target attribute in the same way to make the site open in a new page.
Finally, with the getElementById() method I get the level id and with appendChild() I add the created tag with its attributes.
function insert() {
  var link = document.createElement("a");
  link.innerHTML = "Coding Creativo ";
  var att = document.createAttribute("href");
  att.value = "https://www.codingcreativo.it";
  link.setAttributeNode(att);
  var newpage = document.createAttribute("target");
  newpage.value = "_blank";
  link.setAttributeNode(newpage);
  document.getElementById("link").appendChild(link);
}
JavaScript add attribute – example 2
Let’s now take another example with the use of createAttribute ().
Here I will insert the image:
Here I insert the image:
Then try to click on the button, an image of 200px size will appear. If you click again, as in the other cases, the tag is reproduced.
Development example on JavaScript add attribute
First of all, let’s create the layer where the image and the button appear:
<div id="image">Here I insert the image: </div>
<input type="submit" onclick="insert()" value="insert">
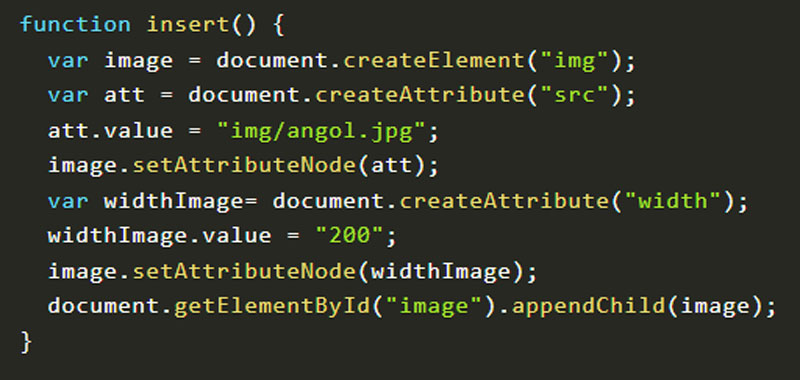
Then in a similar way to the previous example I create the javascript code:
function insert() {
  var image = document.createElement("img");
  var att = document.createAttribute("src");
  att.value = "img/angol.jpg";
  image.setAttributeNode(att);
  var widthImage= document.createAttribute("width");
  widthImage.value = "200";
  image.setAttributeNode(widthImage);
  document.getElementById("image").appendChild(image);
}
This time I used the src attribute to indicate the path to the image and the width attribute for the width.
Clearly you have to indicate the path of your image.
Conclusion
These are just some JavaScript examples of how to add a new attribute where we used createAttribute () and setAttributeNode ().
We continue our tutorial in JavaScript using the createTextNode method, which is the method that allows us to insert text into a node.
In fact, after having created a new element or on an already existing element, it may be necessary to insert some text inside it.
To do this, you can use, for example, the JavaScript createTextNode() method, where inside the round brackets I specify the new text to be inserted.
The syntax of this method is as follows: element.createTextNote().
createTextNode JavaScript – example
In this example we will create a new paragraph, where we will insert any text inside. The new paragraph will be created when the button is clicked.
Try it out by clicking on the button below, you can click it also several times.
Development
We explain in detail the procedure for making this example.
In the HTML code we insert a ‘Add new paragraph’ button as before and under it we add a level (div), where the new generated paragraph will appear.
Our add () function will carry out very simple instructions:
will first create the new paragraph element,
then it will write some text within this paragraph using the createTextNode method of JavaScript
and then using the appendChild () method will add this newly created content to the desired location. The desired point is obtained thanks to the getElementById method.
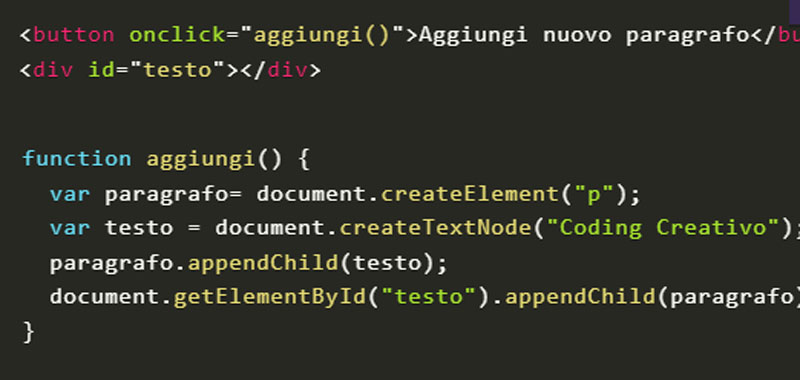
So, here is the html code to create the example:
<button onclick="add()">Add a new paragraph</button>
<div id="text"></div>
And JavaScript code to create the example:
function add() {
  var paragraph = document.createElement("p");
  var text = document.createTextNode("Coding Creativo");
  paragraph.appendChild(text);
  document.getElementById("text").appendChild(paragraph);
}
Conclusion
So, summarizing in this lesson we learned how to create elements in the DOM with JavaScript and how to use the createElement(), createTextNode() and appendChild() methods.
Let's create an alphabet variable with the letters of our alphabet:
alphabet = 'ABCDEFGHIJKLMNOPQRSTUVWXYZ';
The letters are 26, so the key can take 26 possible values. This as we have already said in the previous tutorials makes the cipher very weak.
We also remember that Caesar cipher is made in a circular way, so when you get to Z you start from A.
For convenience, we consider only the words written in uppercase, therefore we transform into uppercase any text written in the plain text input box. For this purpose we use the toUpperCase() function which converts a string to uppercase characters.
testo.value = testo.value.toUpperCase(); // capitalize the entered text
We reset any values present in testoCifrato, then we write: testoCifrato.value = "". That is, we set the encrypted text as an empty string.
We obtain the value of the inserted key (by default I entered the value 5) which is used to determine how far to move.
So let's use the parseInt function for this purpose which parses an argument and returns an integer. If the key is less than zero then we add 26. This is to decrypt the text again as seen in the example above.
c = parseInt(key.value); if (c < 0) c += 26;
Now let's calculate the length of the entered text:
len = text.value.length;
So with a for loop we read all the characters and move them following this formula:
pos = (pos + c) % 26;
In this way to pos (ie to the position of the letter in the alphabet) we add c and then we calculate the remainder of the division by 26. So if the sum touches the maximum limit we start again from the beginning.
We use the charAt function which in this case returns the character of the string specified by the index i.
Then we also use the indexOf function which returns the index inside the String object.
The reset function clears the values contained in the plaintext and ciphertext fields.
Caesar cipher decoder - JavaScript and HTML code
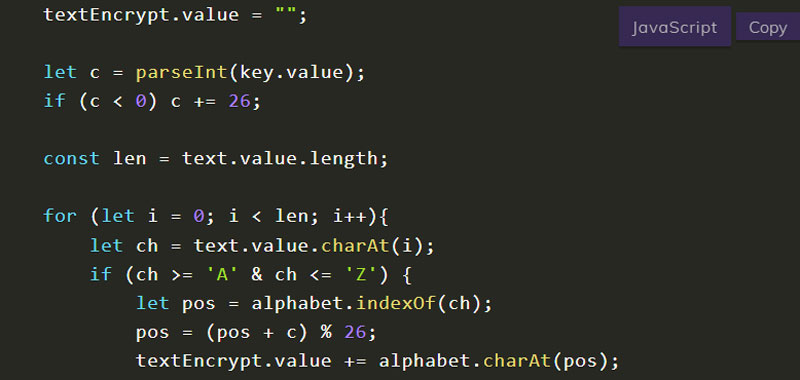
Here is the complete JavaScript code that for simplicity we insert on the same page, remember that a separate file should be created:
function encrypt(text, textEncrypt, key){
    const alphabet = 'ABCDEFGHIJKLMNOPQRSTUVWXYZ';

    text.value = text.value.toUpperCase();
    textEncrypt.value = "";

    let c = parseInt(key.value);
    if (c < 0) c += 26;

    const len = text.value.length;

    for (let i = 0; i < len; i++){
        let ch = text.value.charAt(i);
        if (ch >= 'A' & ch <= 'Z') {
            let pos = alphabet.indexOf(ch);
            pos = (pos + c) % 26;
            textEncrypt.value += alphabet.charAt(pos);
        }
    }
}

function reset_all(text, textEncrypt, key){
	text.value = "";
	textEncrypt.value = "";
	key.value = 5;
}
Finally the HTML code to create the text fields and buttons:
This was just one example of the possible development of the online Caesar cipher, please propose your solution.


Commenti recenti