We study some JavaScript methods to add an attribute to elements.
In particular, in this lesson we will use createAttribute() and setAttributeNode().
In the previous article we saw how to create new elements such as paragraphs, levels, titles, etc …
JavaScript add attribute – createAttribute
With the createAttribute() method you can add one or more attributes to the elements created.
The syntax is therefore this: element.createAttribute(attribute_name);
where attribute_name is any attribute of the created tag.
JavaScript add attribute – example 1
After creating the attribute with createAttribute (), we will use the setAttributeNode () method, to associate the attribute with an element.
So let’s take an example to better understand how it works.
Here I will insert the link:
Then try to click on the button above, the link to the Coding Creativo website will appear. If you click on the link, a new page will open, which you can close anyway to return to the tutorial.
Development example on JavaScript add attribute
So first I create the layer where to display the link I want to create. Immediately below I create the button that must be clicked to bring up the new link.
<div id="link">Here I insert the link: </div>
<input type="submit" onclick="insert()" value="insert">
I will now proceed to create the JavaScript code. I then create an insert() function that will be called when the onclick event on the button is activated.
Then, inside the function, I create the new element a with the createElement() method, as we did in the previous tutorial.
After between the opening and closing tags I write the Creative Coding text using the innerHTML property.
I create a variable to which I assign the attribute created with the createAttribute () method, in this case href. Then I give him the value of the website: https://www.codingcreativo.it.
Finally, with setAttributeNode() I associate the newly created attribute with the a tag.
Then I create the blank = _target attribute in the same way to make the site open in a new page.
Finally, with the getElementById() method I get the level id and with appendChild() I add the created tag with its attributes.
function insert() {
  var link = document.createElement("a");
  link.innerHTML = "Coding Creativo ";
  var att = document.createAttribute("href");
  att.value = "https://www.codingcreativo.it";
  link.setAttributeNode(att);
  var newpage = document.createAttribute("target");
  newpage.value = "_blank";
  link.setAttributeNode(newpage);
  document.getElementById("link").appendChild(link);
}
JavaScript add attribute – example 2
Let’s now take another example with the use of createAttribute ().
Here I will insert the image:
Then try to click on the button, an image of 200px size will appear. If you click again, as in the other cases, the tag is reproduced.
Development example on JavaScript add attribute
First of all, let’s create the layer where the image and the button appear:
<div id="image">Here I insert the image: </div>
<input type="submit" onclick="insert()" value="insert">
Then in a similar way to the previous example I create the javascript code:
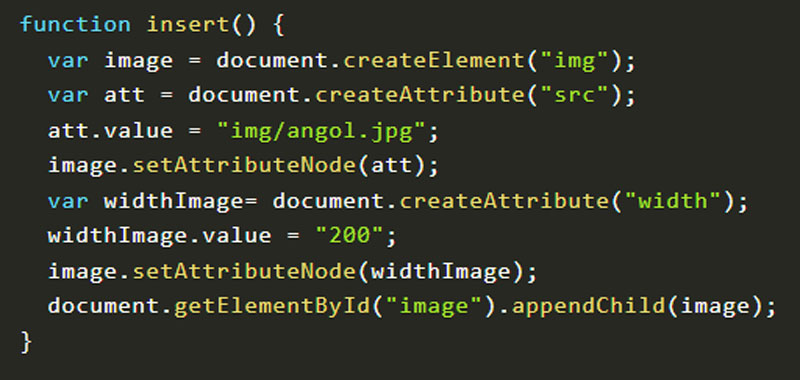
function insert() {
  var image = document.createElement("img");
  var att = document.createAttribute("src");
  att.value = "img/angol.jpg";
  image.setAttributeNode(att);
  var widthImage= document.createAttribute("width");
  widthImage.value = "200";
  image.setAttributeNode(widthImage);
  document.getElementById("image").appendChild(image);
}
This time I used the src attribute to indicate the path to the image and the width attribute for the width.
Clearly you have to indicate the path of your image.
Conclusion
These are just some JavaScript examples of how to add a new attribute where we used createAttribute () and setAttributeNode ().